How to Cook the Perfect, Most Tender, Juiciest, and Delicious Thanksgiving Turkey
a Turkey Using This Slow Cook Recipe?
Testimonials
Disasters
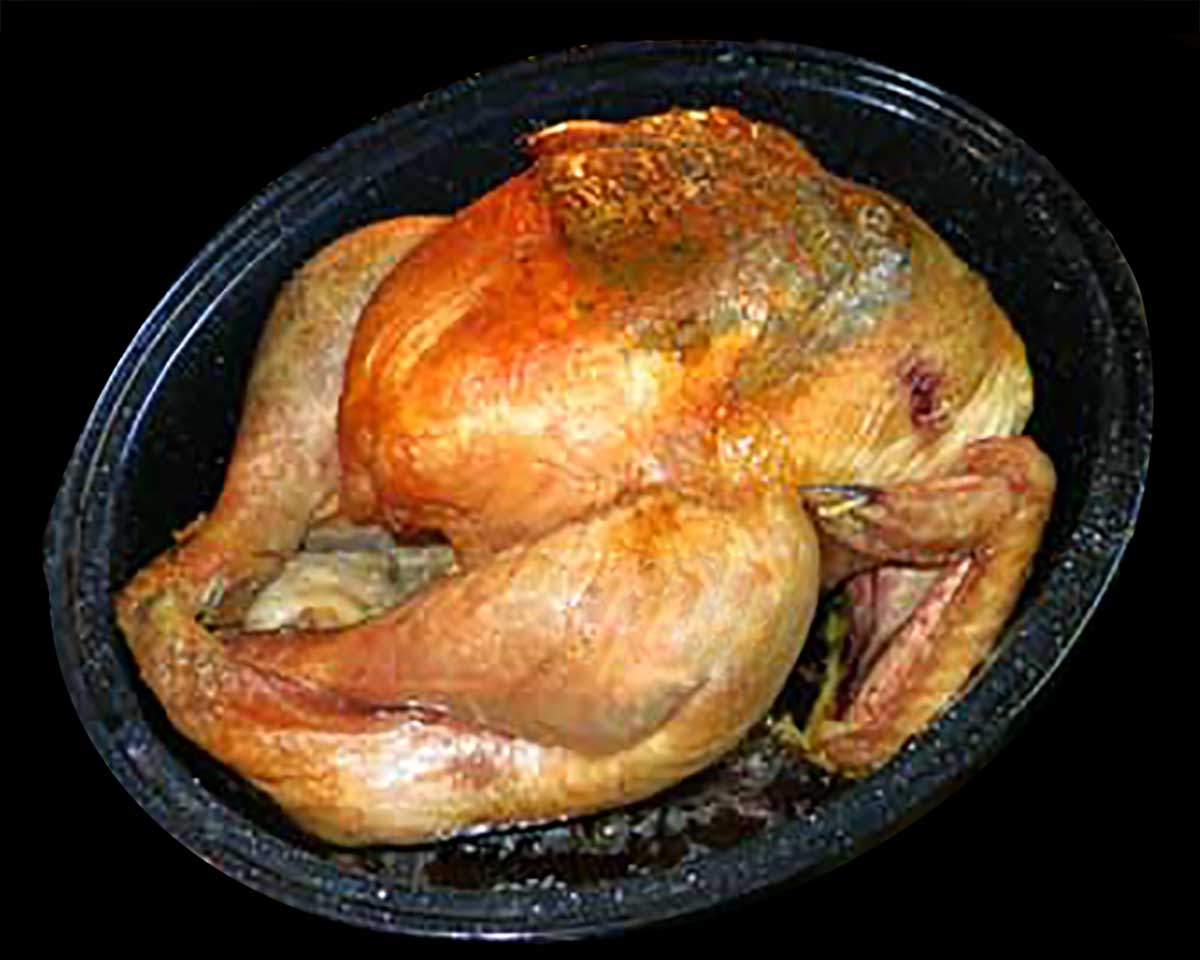
The Best Thanksgiving Turkey Recipe Ever!
 It took me 56 years to find the how to cook the perfect Thanksgiving turkey! What if cooking a turkey could be totally carefree? Why deep fry a turkey and have to worry about the safety hazards and all the mess and cleanup?
This recipe is extremely simple and the absolute best way to cook a turkey. That's because
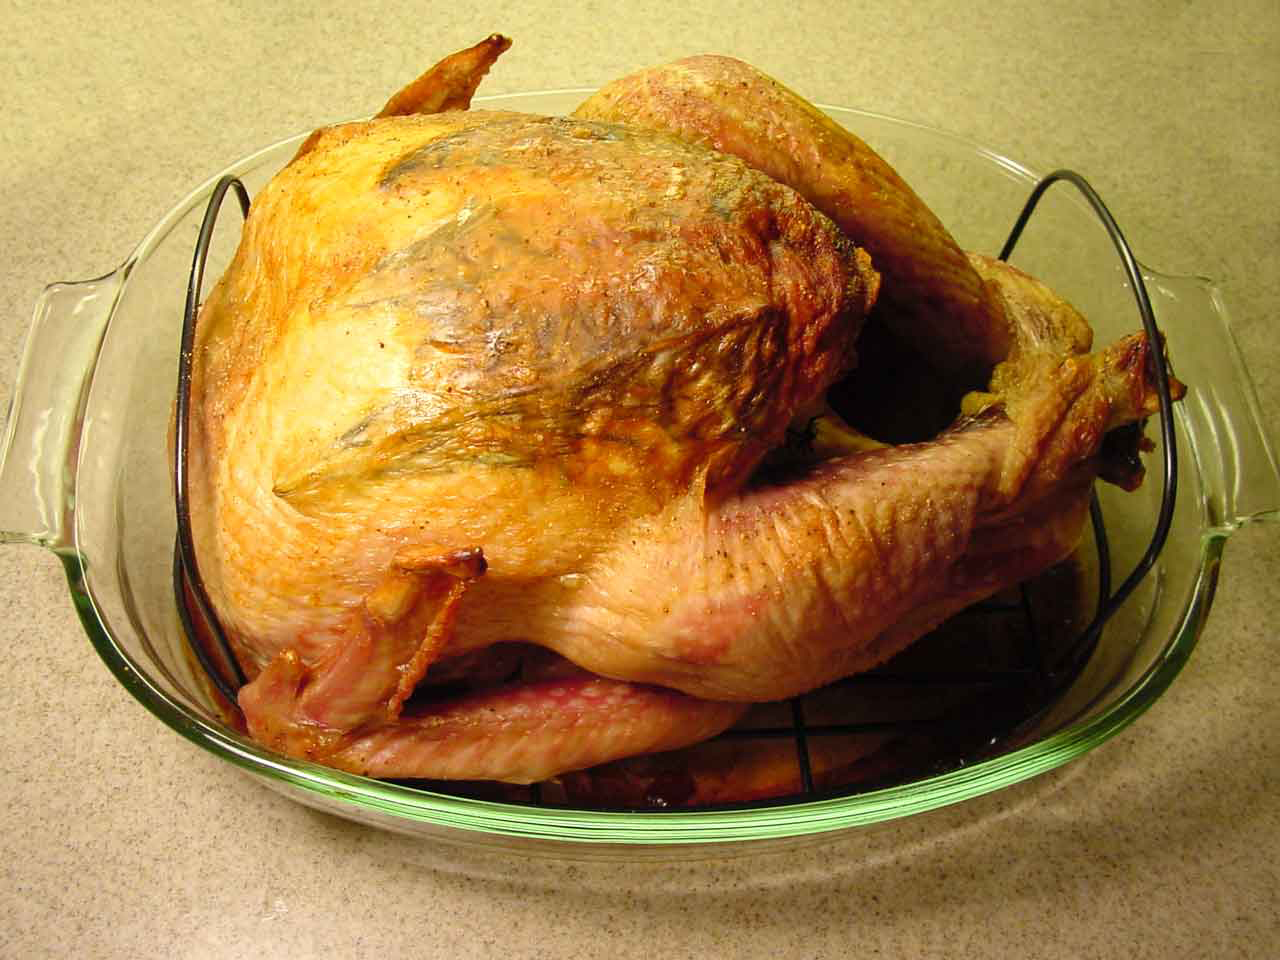
- cooking the perfect, juiciest, mouth-watering Thanksgiving turkey is as easy as popping it in the oven and walking away; and
- even better, you know with absolute certainty that your turkey will be incredibly tender, moist, and delicious! It's hands down, the best turkey you, your family, and guests have ever tasted!
The turkey is now the big hit at our house on Thanksgiving. Before, it was always the other great recipes on the table.
That's because turkey is usually dry. And why is it so dry? Because I, like most people, overcooked it!
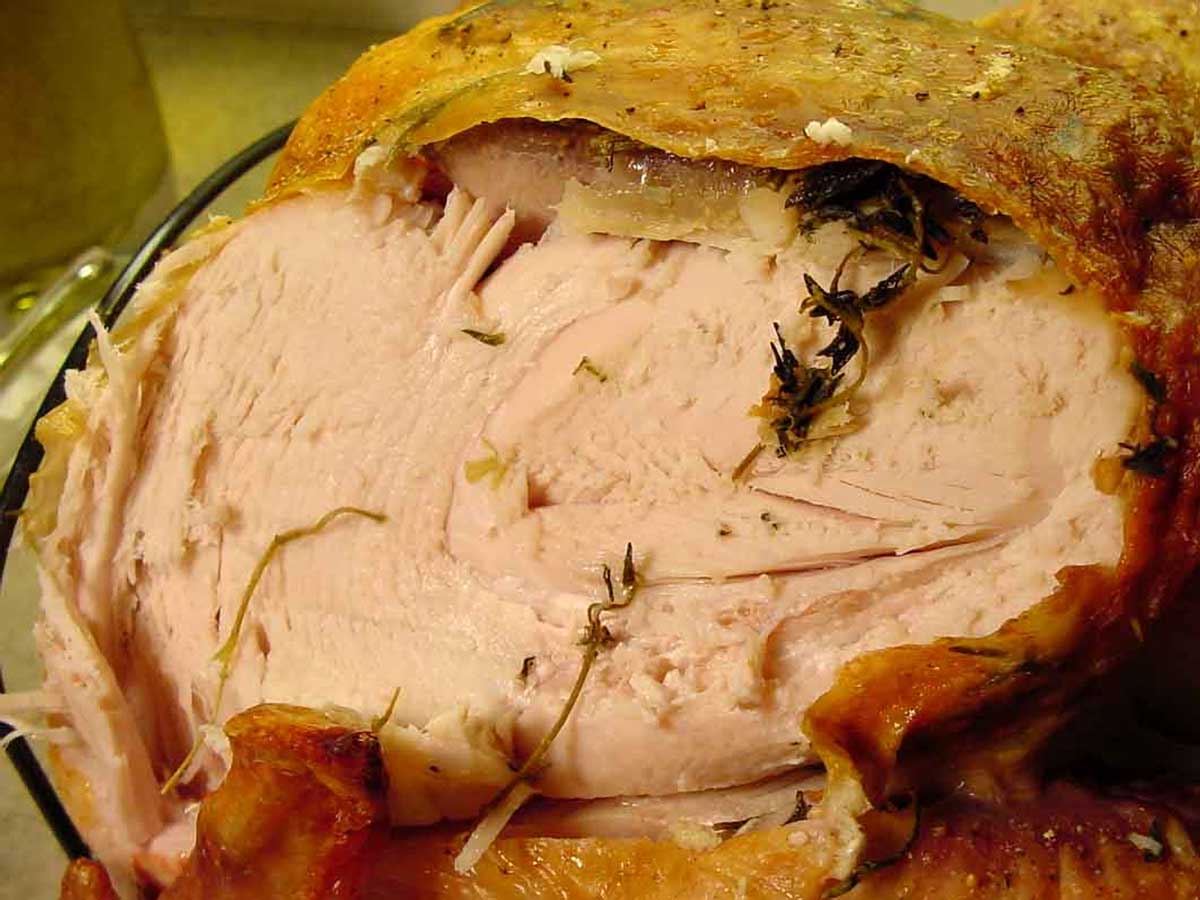
Now you'll learn how to cook a perfect turkey using a slow cook method that will keep it super moist (yes, even the white meat) and incredibly delicious.
"...always turn out great."
Don C. Edmonton, AB 01/02/20
"Best way to cook a turkey ever. 😊"
Julie T. Horn Lake, MS 12/25/19
"Absolutely the best turkey I've ever cooked in 40 something years! 😊"
Susan B. Wagoner, OK 12/25/19
"every year people tell me it's the most delicious turkey they've ever had."
Dorcie F. 12/06/19
"I have never tasted a turkey so juicy."
Makesha C., Alton, IL, 1/10/07
"... most delicious and moist turkey we have ever eaten!"
Glenn H. 11/26/07
"... the best turkey we had ever had for Thanksgiving."
Rob E. 11/26/07
"... it cooked super moist with an almost overwhelming flavor."
Thomas C. 11/27/08
"... our 11.5 pound turkey came out spectacular again!"
George T. New York, NY 11/28/08
"Thank you so much for helping to make my Thanksgiving and Christmas turkeys perfect!"
Dale D., Virginia Beach, VA 12/31/08
"...my turkey came out fantastic!"
Maria S., Smithfield, NC 12/25/08
"My daughter used your recipe to make her first Thanksgiving turkey and it was DELICIOUS!"
Valerie P., 12/3/08
"I have never cooked or tasted such a moist, perfectly cooked turkey in my life!"
Lorna S., 12/1/08
Seven Crucial First Steps for Cooking the Perfect Turkey
Here's a link that will explain how you can test your oven's accuracy.
| Time Required to Thaw a Turkey | |
| 8 to 12 lbs. | 2 to 3 Days |
| 13 to 16 lbs. | 3 to 4 Days |
| 17 to 20 lbs. | 4 to 5 Days |
| 21 to 24 lbs. | 5 to 6 Days |
A lot depends on how cold your refrigerator is set and on what rack you put the turkey. A lower the rack will take more time to thaw.
It's absolutely critical that the turkey is completely thawed to be successful using a low-temperature, slow-bake recipe. Here's a helpful link that will show you how to be certain that your turkey is totally thawed. This website also has ways to cook a partially frozen turkey. It's good to have a backup plan.
DO NOT USE MY SLOW COOK RECIPE IF YOUR TURKEY IS STILL FROZEN!
Suggestion: Get a fresh, never-frozen turkey and this potential complication is eliminated.How to Cook a Perfect Thanksgiving Turkey Every Time
Note: I suggest not waiting until just before Thanksgiving to return to print the recipe. The volume of traffic on the web site makes it run extremely slow and usually crashes the website.
Removing your turkey from the refrigerator gives it time to reach, or at least come closer to, room temperature. I always have a few reports each year that the turkey was not getting done on time. Not being at room temperature before placing the turkey in the oven may be the reason.


Now comes the part that some people find a bit gross. But it's essential!
Gently separate the skin from the breast but don't remove it. You just want to be able to get your hand between the skin and the breast meat. Your goal is to rub that melted butter on the turkey breast between the breast skin and the meat. I up end the turkey slightly and pour the melted butter in and then rub it around. You might want to use a rubber glove. Don't butter the outside of the skin.

Note: A professional cook suggested finely chopping the spices and whipping them in the butter that you spread between the skin and breast in the previous step above. It sounds like a great idea to me. Update 11/24/11... this works great!
Sounds like something William Shakespeare would have said cooking his turkey. If the turkey is
- uncovered, the skin will be darker and more crisp; and
- covered, will less dark and not as crisp.
Here's my advice. Pick one and stick with it. The meat will be moist and delicious either way.
Put the turkey in the oven, close the oven door, and don't open it up again until the cooking time is completed. That's because one the main reasons people have problems with under cooked turkey using this slow cook recipe is because they open the oven door during the cooking process.
Reduce the heat to 250°F. This again is not a typo! Don't let anybody tell you that the temperature has to be higher for it to get done. The reason that turkey is so often very dry is that it's overcooked. We want to slow cook the turkey.
Don't remove the turkey from the oven! Just reduce the heat.
Don't open the oven door to reduce the heat. Let the heat come down on it's own. Click here to find out about concerns when slow-cooking a turkey.
Cook the turkey at 250°F for 20 additional minutes for each pound. No basting is necessary. You start counting the 20 minutes per pound immediately when you turn the oven down to 250°. You don't wait until the oven has cooled down to start the timing for the second phase.
You can either let the turkey uncovered or covered for the second slow cooking phase. The skin will get crispier if you uncover it. If you want to cover it wait about 15 minutes after reducing the heat and then put the lid on the roasting pan.
Critical Note: Avoid opening the oven to "check on the turkey"! This is a tough one for most people because you're worried. However, every time you open the oven you lose heat. And it can take a long time to reheat when it's set to a low temperature. This can drastically affect the slow-cook cooking time.
The best way to monitor the progress is with an electronic meat thermometer you'll read about below. However, I no longer recommend that you use a thermometer during the cooking process. That's because most electronic thermometers can't withstand the initial 475° temperature. So, when you open the oven to insert the thermometer probe, which can take some time until you think you have it placed correctly, you interrupt the slow cooking process.
For most people, and I know this is extremely hard to do, just follow the cooking instructions and let it alone keeping the oven door shut the entire time. You would rather sacrifice the presentation and have the meat falling off the bones than having a turkey that's not done with family and guests waiting to eat.
Test the temperature of the breast and thighs when the cooking time is complete. Your turkey will be perfect if
- the turkey was completely thawed;
- brought to (or close to) room temperature before being placed in the oven;
- your oven temperature is accurate; and
- you're not cooking at high altitudes.
Find out about cooking turkey with a convection oven.
Can I use aluminum foil to cover my turkey if I don't have a covered roasting pan?
Yes. But make absolutely sure the shiny side faces inward and the dull side faces outward.
Update: Matt, a professional chef, tells me it doesn't make any difference.
If it does get done a lot faster you can always keep it warm. But you don't want to overcook the turkey.
Helpful Questions About Slow-Cooking a Thanksgiving Turkey
I found another website that recommended not slow-cooking a turkey even if you have done so successfully many times before. Again they were talking about slow-cooking at the very low temperatures, not at 250°. I suppose that's possible because you don't know the history of your turkey. If processors mishandled the turkey there could be a pre existing problem that I suppose could become a big problem in the slow-cooking process.
None of these websites address the method I recommend using a higher temperature. No one has reported a problem cooking any size turkey using my method. Never-the-less I now recommend that you use this method for smaller birds 20 lbs or less just in case. It doesn't matter how great the turkey gets if there's even the slightest chance of a problem. It also follows that the smaller the turkey, the safer this method is if the problem exists at all.
- The turkey was not totally thawed.
- People did not allow the oven temperature to drop from 475° to 250° leaving the oven door closed.
- Frequently opening the oven door to "check the turkey" during the slow cook process. Every time you do that it takes forever for the oven to get back to 250° and screws up the cooking time. I recommend not opening the oven door at all.
- The turkey was not removed from the refigerator an hour before putting it in the ovento allow it to come to room temperature.
- The cooking time was not calculated correctly.
- You're located at a high altitude which can prolong the cooking time.
- The oven temperature is incorrect.
I did. However, I don't anymore because most electronic oven thermometers can't withstand the initial 475° temperature. Therefore, you have to open up the oven to insert it. It's always a problem when you open the oven door using the slow cook recipe. It's an even bigger problem when people open up the door when the temperature is falling from 475° to 250°.
That's because that period of time while the temperature is dropping is critical, and interrupting that process can have a huge impact on the turkey getting done on time. I think opening up the oven door during the cooking process and starting out with a turkey that's not entirely thawed are the two biggest causes for the Epic Turkey Disasters using this, or any, slow cook method for cooking a turkey.
You can cover it with aluminum foil. However, I do think it would affect the cooking time. It's not necessary when you use a slow cook method for cooking a turkey. So I don't recommend it because there are enough variables that I worry about when I recommend a method for cooking the turkey.
- Has the person fully thawed the turkey.
- Is the temperature accurate in the oven used to cook the turkey.
"I used your method last night, which is GREAT BTW, however, after the first 20 minutes, I put the turkey in a bag. I set the timer, and I have a digital meat thermometer, and I was surprised to hear it go off nearly an hour before the timer was supposed to go off. I also have an oven thermometer and made sure it stayed at the correct temperature the whole time. So, I would imagine using aluminum foil as some people have asked would reduce cooking time since the bag GREATLY reduced it. We were able to cook a 13 lb turkey on a weeknight and still get some sleep! It was done through and through and juicy as can be. I'm eating some of the breast meat right now, and the rosemary improved the flavor. Thanks again!" Dylan H., 12/9/08
 Discover incredibly user-friendly ice cleats! Put them on your shoes and boots for instant traction on all slick winter surfaces. You can even wear them indoors and while you drive to go buy your turkey!
Discover Super Savings Now on 180s Men's and Women's Ear Warmers!
Find Discounted Prices for Toasty Feet Insulated Insoles!
Discover incredibly user-friendly ice cleats! Put them on your shoes and boots for instant traction on all slick winter surfaces. You can even wear them indoors and while you drive to go buy your turkey!
Discover Super Savings Now on 180s Men's and Women's Ear Warmers!
Find Discounted Prices for Toasty Feet Insulated Insoles!